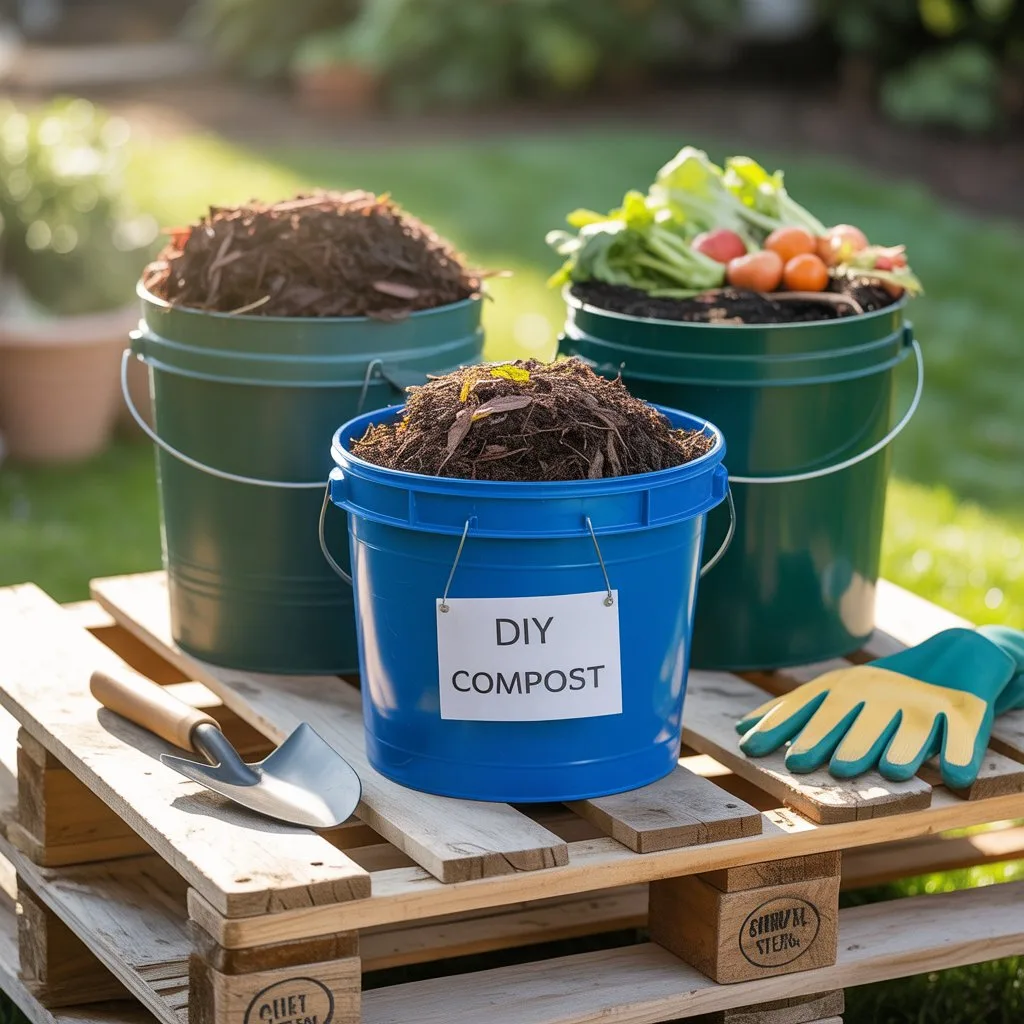
DIY Compost Bins Using Old Buckets: Turn Waste into Garden Gold
Transforming kitchen scraps and garden waste into rich, nutrient-packed compost doesn’t have to be expensive or complicated. With just a few old buckets and some basic tools, anyone can create an efficient composting system right at home. Composting not only reduces household waste but also provides an endless supply of organic fertilizer for plants — a true example of turning trash into treasure. Learning how to make DIY compost bins using old buckets is an ideal eco-friendly project for gardeners, sustainability enthusiasts, and anyone looking to minimize their environmental impact.
Why Composting Matters for a Sustainable Home
Composting is one of the simplest ways to recycle organic materials and close the loop in nature’s cycle. Every time food scraps and yard waste are thrown in the trash, they contribute to methane emissions from landfills — a potent greenhouse gas. Composting, however, transforms these materials into a natural soil conditioner that improves structure, retains moisture, and boosts plant health without chemical fertilizers.
For urban gardeners or people with limited space, DIY compost bins made from old buckets are practical and affordable. They require little room, can be placed on balconies, patios, or small backyards, and make sustainable living accessible to everyone.
Benefits of Making Your Own Compost Bin
Before diving into the “how,” it’s worth exploring the benefits of crafting your compost bin rather than buying a commercial one:
- Cost-effective: You’re repurposing materials that might otherwise be discarded.
- Customizable: You can adjust the size, number of holes, or design based on your space and composting needs.
- Eco-friendly: Recycling old buckets reduces plastic waste while encouraging circular living.
- Convenient: Bucket compost bins are portable, easy to manage, and suitable for apartment dwellers.
Creating a compost bin from old buckets is not only about sustainability; it’s also an opportunity to engage in a rewarding DIY project that promotes environmental responsibility.
Choosing the Right Buckets for Composting
When selecting old buckets for composting, prioritize durability and safety. Food-grade plastic buckets are ideal since they won’t leach harmful chemicals into the compost. Five-gallon buckets are common, but you can use larger ones if you have more organic waste.
Key considerations for your compost buckets:
- Material: Choose buckets made from high-density polyethylene (HDPE) or food-safe plastics.
- Lids: Ensure each bucket has a tight-fitting lid to retain moisture and prevent pests.
- Condition: Avoid buckets that previously contained toxic substances like paint or chemicals.
A set of two or three buckets works well for a small household, allowing you to rotate between active composting and curing batches.
Setting Up Airflow: The Secret to Good Compost
Composting relies on microorganisms that break down organic matter into rich humus. These microbes need air to thrive. Without proper aeration, compost can become smelly or anaerobic.
Drilling ventilation holes is the simplest way to introduce oxygen into your DIY compost bin.
How to create airflow:
Use a drill to make several small holes (around ¼ inch in diameter) on the bucket’s sides and bottom. The side holes allow air circulation, while bottom holes help drain excess moisture. Elevating the bucket slightly off the ground on bricks or wooden blocks ensures air can flow underneath as well.
For added ventilation, you can stack two buckets together — the inner one with holes and the outer one to catch any liquid “compost tea.” This liquid is rich in nutrients and can be diluted with water to feed plants naturally.
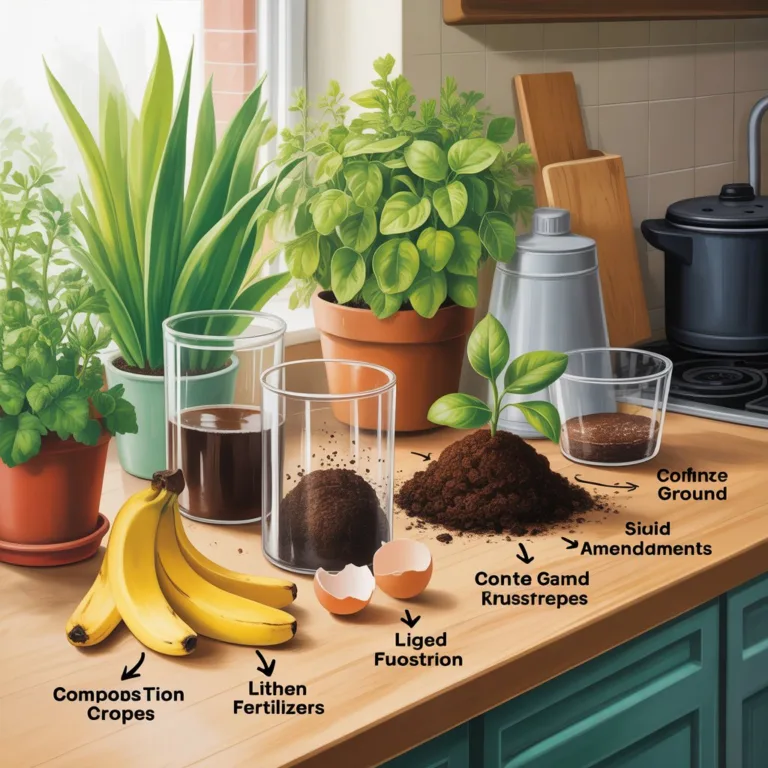
What to Compost and What to Avoid
Understanding what goes into your compost bin is crucial for success. The key is balancing “greens” (nitrogen-rich materials) and “browns” (carbon-rich materials).
Green materials (nitrogen sources):
- Fruit and vegetable scraps
- Coffee grounds and tea leaves
- Fresh grass clippings
- Plant trimmings
Brown materials (carbon sources):
- Dried leaves
- Shredded paper or cardboard
- Sawdust (untreated wood only)
- Straw or small twigs
Avoid adding meat, dairy, oils, or synthetic materials, as these can attract pests and disrupt decomposition. Similarly, steer clear of diseased plants or pet waste, which can introduce pathogens.
Layering and Managing Your Compost
Building your compost layers properly helps accelerate decomposition and prevents unpleasant odors. Start with a layer of browns at the bottom for good drainage and airflow. Then alternate between layers of greens and browns, ensuring a balanced mix.
Each time you add new materials, lightly stir or mix the compost to distribute moisture and air. The mixture should feel damp — like a wrung-out sponge — but not soggy.
If your compost begins to smell, it’s likely too wet or lacks airflow. Add more dry browns and stir to rebalance. Conversely, if it’s dry and slow to decompose, sprinkle a little water or add fresh kitchen scraps to restore moisture.
Speeding Up the Composting Process
Composting is a natural process, but there are ways to make it more efficient. Smaller pieces break down faster, so chop or shred materials before adding them to your bucket. Placing your compost bin in a warm spot, such as a sunny corner of the balcony or garden, can also speed things up by maintaining optimal microbial activity.
Occasionally stirring or shaking the bucket helps mix oxygen into the compost, encouraging faster decomposition. If you’re using multiple buckets, you can pour the contents from one to another to mimic turning a traditional compost pile.
Adding a handful of finished compost or garden soil introduces beneficial microbes that jumpstart the process. Within a few weeks to a couple of months, depending on temperature and material balance, your compost will turn dark, crumbly, and earthy — ready for use.
Troubleshooting Common Composting Problems
Even simple systems can face challenges. Here’s how to fix common composting issues:
- Bad odor: Caused by too much moisture or lack of air. Add dry browns like shredded paper and mix well.
- Compost too dry: Sprinkle water or add fresh green waste.
- Pests or flies: Keep the lid tightly closed and bury fresh scraps under a layer of browns.
- Slow decomposition: Chop materials smaller, add more greens, and ensure proper airflow.
Consistency is key. Once you get used to monitoring your compost, it becomes second nature.
Using Your Finished Compost
When your compost has turned into a dark, crumbly texture and smells like fresh soil, it’s ready to use. This nutrient-rich material can be added directly to garden beds, mixed into potting soil, or used as mulch around plants.
Homemade compost improves soil structure, enhances moisture retention, and provides a slow-release source of nutrients that helps plants grow stronger and healthier. For indoor gardeners, mixing a small portion of compost into potting mix is an excellent way to refresh tired soil and boost plant vitality.
Creative Ways to Use Compost Tea
If you’ve used the double-bucket system, you might notice a small amount of liquid collecting in the lower container. This is compost tea — a powerful, natural fertilizer.
To use it safely, dilute one part compost tea with ten parts water before applying it to plants. This gentle solution can be poured at the base of plants or sprayed on leaves to encourage lush, vibrant growth. It’s especially effective for container gardens, herbs, and vegetables.
Teaching Kids and Families About Composting
DIY composting projects can be a wonderful educational experience for children. It helps them understand nature’s recycling process, teaches patience, and builds eco-friendly habits early on. Kids can help collect scraps, stir the compost, and observe how waste transforms into something useful.
To make it fun, let them decorate the compost buckets with eco-friendly paints or stickers. Turning sustainability into a creative family activity makes composting more enjoyable and meaningful.
Maintaining Your Compost System Year-Round
A well-maintained compost bin can be used all year long. In colder climates, decomposition may slow during winter, but the process continues quietly inside. Keep your bin covered to prevent excess rain or snow from soaking the contents.
As temperatures warm up, give your compost a stir and add a fresh mix of greens and browns to revive microbial activity. Over time, you’ll develop a rhythm that fits your household’s waste production and gardening needs.
The Environmental Impact of Composting
By making DIY compost bins using old buckets, you’re not just creating fertilizer — you’re reducing your carbon footprint. Every bit of organic waste diverted from landfills means fewer greenhouse gases and less pollution. Composting also contributes to soil regeneration, helping reverse the effects of erosion and degradation caused by conventional agriculture.
It’s a small act with a big impact, proving that sustainability doesn’t always require grand gestures. Sometimes, it starts with a single bucket in your backyard or balcony.
Composting with old buckets is more than just a DIY project — it’s a lifestyle choice that reflects care for the planet and a love for growth. Every handful of homemade compost tells a story of transformation: from waste to renewal, from everyday scraps to garden gold. Start your own bucket compost today, and experience firsthand how simple, sustainable actions can enrich both your soil and your life.

Sofia Greenfield is a sustainable gardening expert and environmental educator who inspires families and urban gardeners to cultivate green spaces responsibly. She shares practical tips on growing vegetables, herbs, and flowers using eco-friendly and recycled materials, emphasizing the joy of gardening while protecting the planet.